
Return the pub's Toy to the crib for Tomorrow's Promise. For this Valor Mortis side quest, start at the empty crib near Fallen Village's Marketplace lantern, collect the Weathered Key outside the back door, and use it at the pub across the river. Other quests below require letters, hidden rooms, or abilities you unlock later.
How do you use the Weathered Key at the pub?
Use the Weathered Key to open the pub, collect the Toy inside, and put it in the Marketplace crib to complete Lullaby.
-
From Fallen Village > Marketplace, head toward the water with flames in the distance and enter the house. Approach the empty crib to start Lullaby.
-
Leave through the back door. Pick up the Weathered Key from the ground near the enemies. A corpse beside a tree is a landmark in this pickup area.
-
Return to the lantern and head back into the previous area. After the Volunteer, turn right and follow the path to its end. Jump across the river to the pub and interact with its wooden door to use the key.
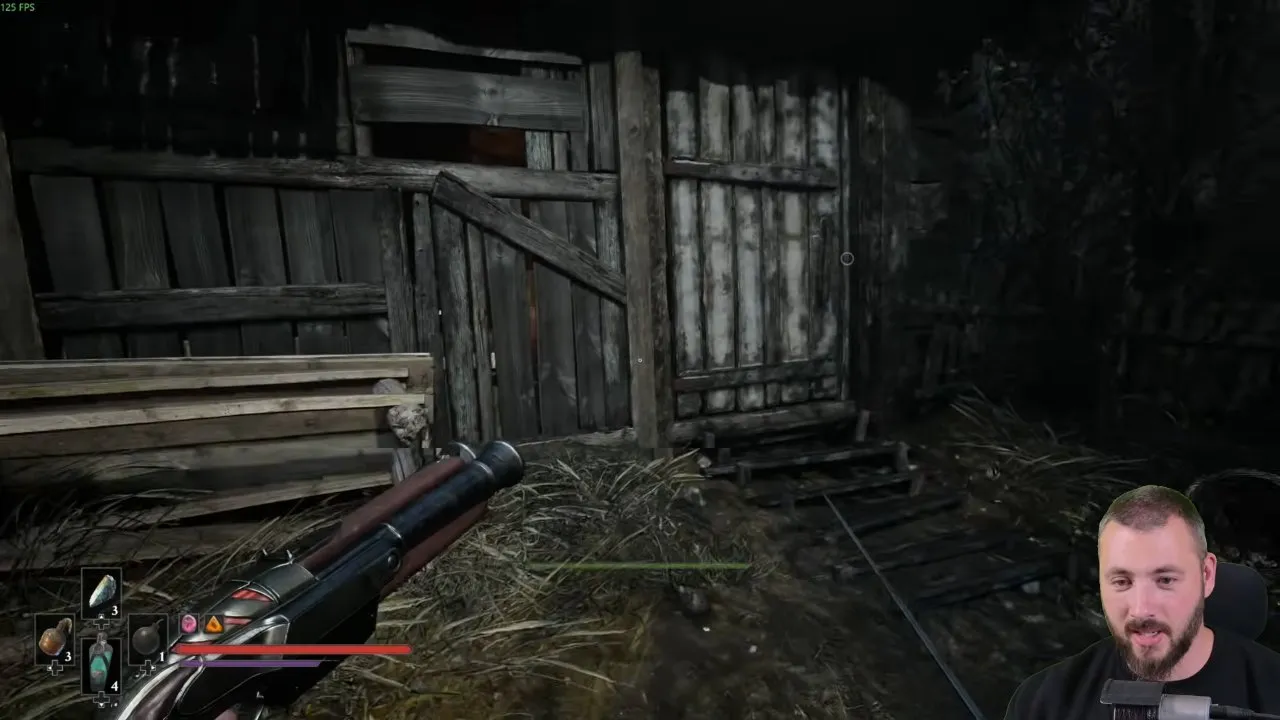
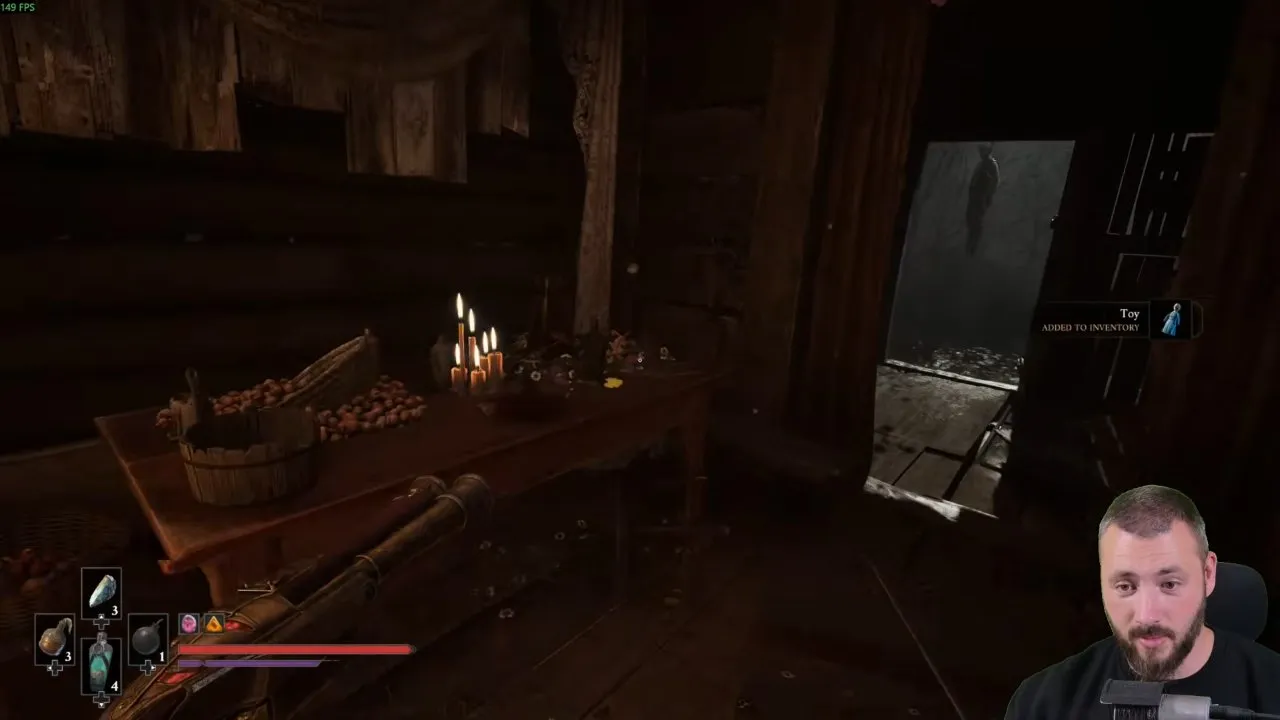
- Collect the Toy from the bed inside. This is the puppet you need for the baby; the inventory notification calls it Toy.
- Go back to the crib house and interact with the crib to place the Toy. You get Tomorrow's Promise and a bonus catalyst.
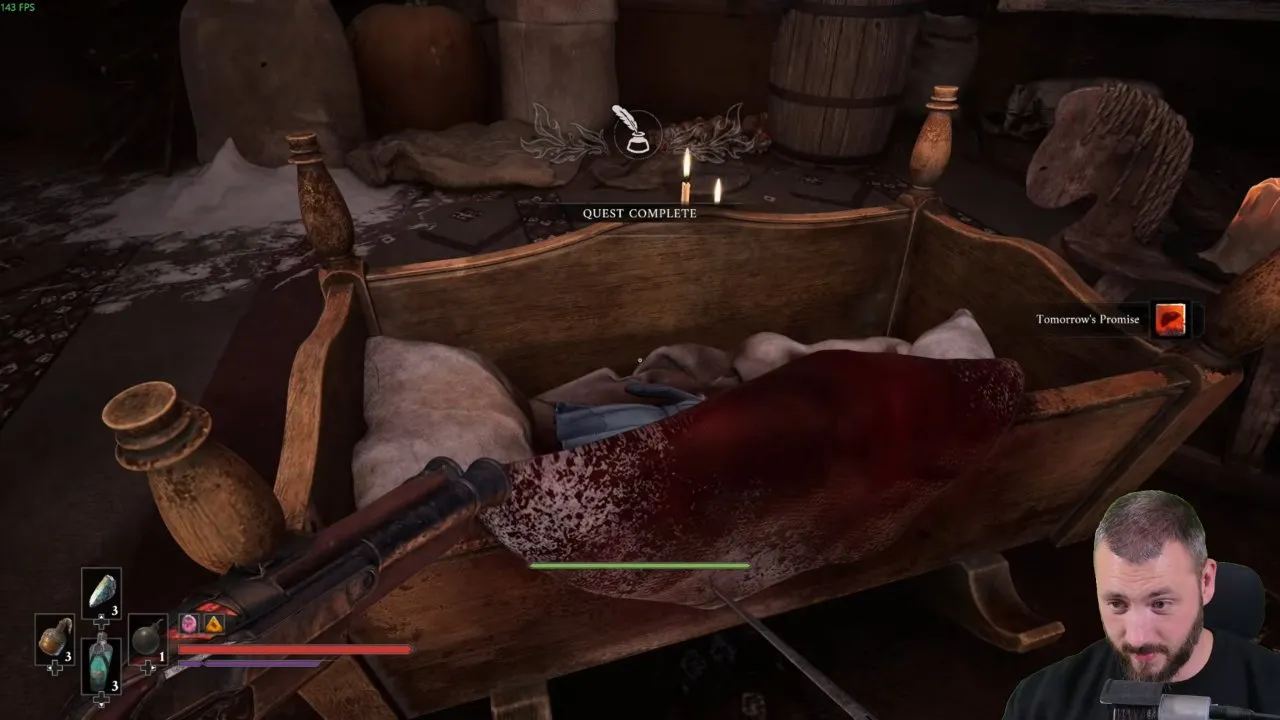
Tomorrow's Promise makes the Ferrofluid Flask heal you over time as well.
How do you find the missing scouts and get Sleight of Hand?
Burn the golden vines off the lift's central platform, defeat the enemy beyond them, collect the officers' letter, and return to the adjutant to finish An Unheard Farewell.
- At Valley of Ashes > Guidepost, speak to the man at the carriage window in the open area after the first Grenadier. Agree to help.
- Continue through the cave after the lift at The Climb. Climbing the exit ladder advances the quest.
- Reach the second set of Nephtoglobin spots that release the lift. Ride it and jump off while it moves to reach the central platform. Opposite your original path, burn the golden vines.
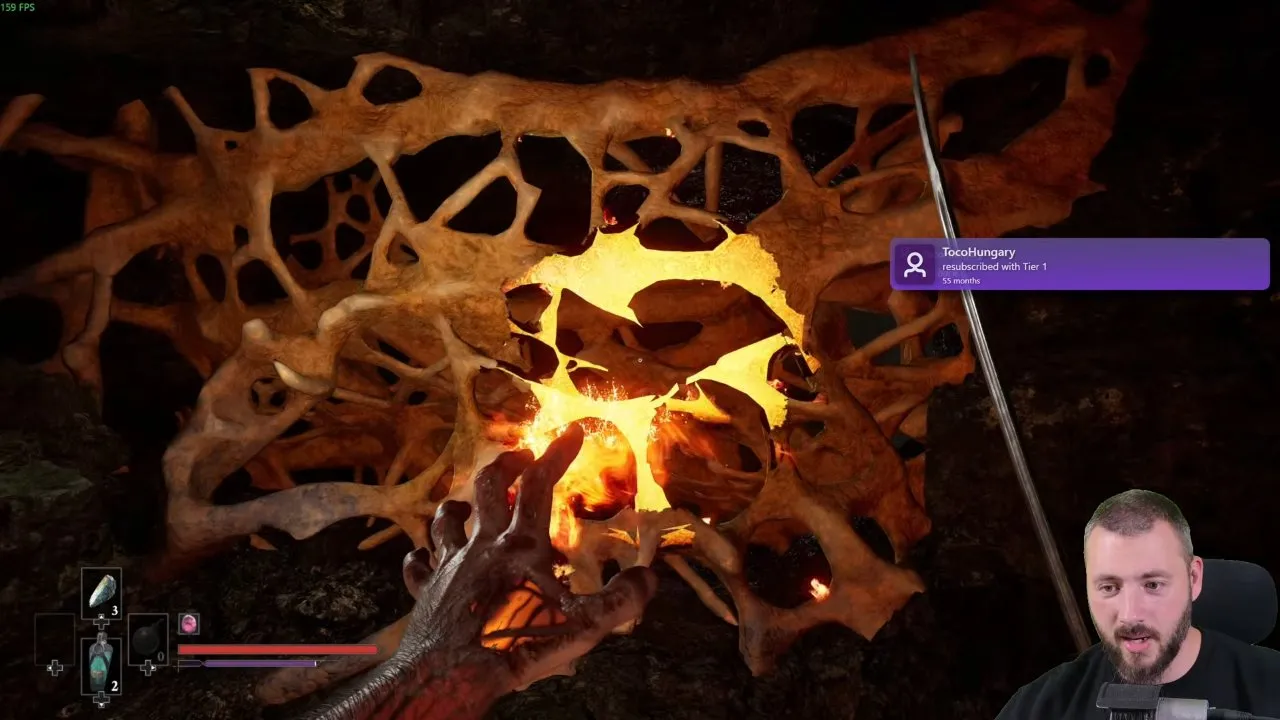
- Defeat the miniboss and collect Letter to all Commanding Officers of the Line Infranty.
- Continue to Demolished Path, kick down the ladder, and return to the adjutant's carriage. Speak to him for Sleight of Hand and Aggressive Reconnaissance. Your reply does not change these rewards.
Rest at the nearby lantern afterward, then check the ground by the carriage for an Epic Catalyst Clot. The lift jump is the important detour here: continuing up the main path leaves the letter behind.
How do you finish the Emissary's Seal quest through the poison area?
Return with Shield Transmutation from the university, cross the poison clouds, and investigate the camp beyond them to progress The Emissary.
- At Valley of Ashes > The Other Side, enter the poisoned area on the left. Collect Emissary's Seal from the table inside the carriage.
- After Slaughtermill near Vale of Wrath > Old Windmill, take Emissary's Letter from the right side of the tunnel leading down from the platform. If the mill fight itself is the problem, see the Slaughtermill strategy.
- Continue the main route until you obtain Shield Transmutation at the university. Then return to The Other Side and use it to pass the poison. Follow the slope to the hidden camp, pick up the note, and interact with the unusual corpse.
- Defeat the enemy triggered by the corpse and open the chest for Perfect Copy, which raises the ranks of your other equipped Tier 1 and Tier 2 ambers.
- Open the further route near the poison by shooting the train car's weak spot. If the ground angle is awkward, climb the cliffs and aim down. Continue to the blocked gate and interact with the red cloth to finish the quest for Sands of Time.
You'll pick up the seal hours before you can finish this, so don't sit at the poison wall; carry on with the story until the university.
How do you finish Homesick after finding the dead courier?
Take the Death Notice from the boat and return to the place where you found the Longing Wife Letter to complete Homesick.
- At Caverns > Last Sunlight, enter the area with the Concerned Mother memory. Pick up Longing Wife Letter beside the seated apparition.
- In the large cave with enemies, find the hole in the ground with a visible tunnel. Follow it into another area with a chest near a Grenadier.
- Just beyond the Grenadier's patrol, jump across the water to the boat. Collect Death Notice, the letter associated with the dead courier.
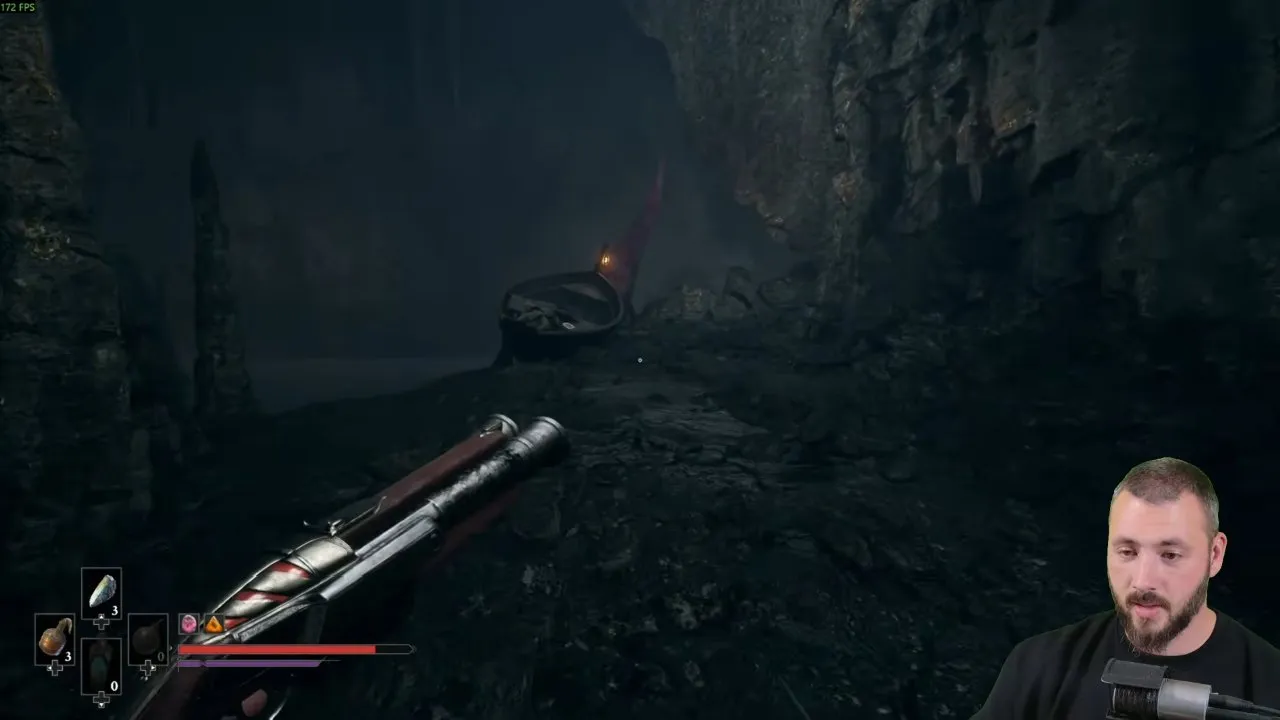
- Return to the first letter's location. Wait for William to finish speaking; the quest completes automatically and awards Bottomless Well.
Where is the Painter's Basement key, and what does the painting clue mean?
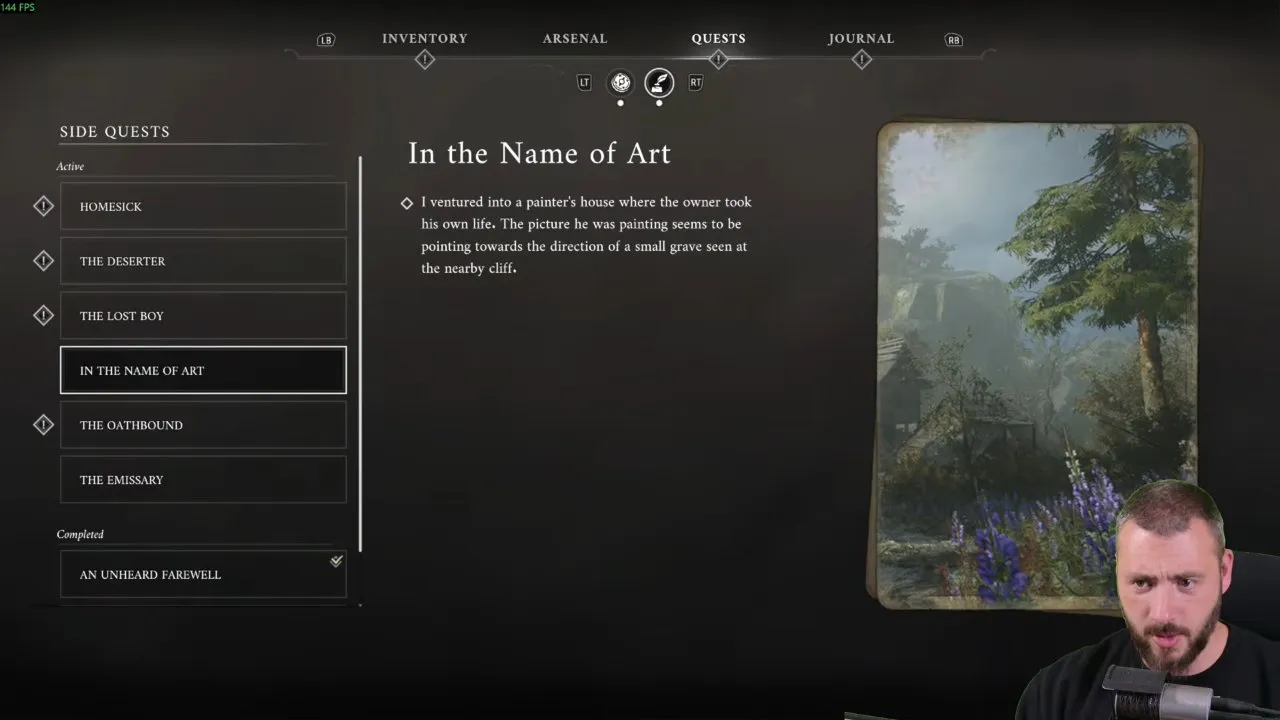
The Basement Key is beside the gravestone on the hill next to the painter's house; the painting points you toward that nearby cliff grave.
- From Vale of Wrath > Under the Bridge, follow the path uphill to the house with the blocked front door. Go around its right side and shoot the weak spot through the window to open the entrance.
- Upstairs, interact with the painting beside the body to move it and start In the Name of Art. Shoot the weak point through the revealed gap to open the adjacent route.
- Follow that route to the gravestone at the top of the hill and collect Basement Key.
- Return inside. Open the door at the back of the first floor, follow the basement memories, and collect Painter's Final Letter from the ground in front of the body in the final room.
The picture looks like scenery at first, but read it as a direction to the grave. Finishing the basement route awards Butcher's Carnage.
Where are the three Anubis figurine pieces for The Deserter?
Collect the three Anubis Figurine Parts from square beehives along the Under the Bridge route to complete The Deserter.
Start at Vale of Wrath > Under the Bridge by collecting Wanted Notice from the ground in the shack across the bridge. After leaving the painter's basement, turn right and use the two grapple points. Defeat the Eternal Guardsman beyond the second grapple for Beekeeper's Hut Key. Open the hut and read Deserter's Diary on the table.
Outside, collect Beekeeper's Note. Its red X markings warn you about dangerous hives; the figurine pieces are in the following square hives.
| Piece | Hive to inspect |
|---|---|
| First | In the hut area, the square hive farthest from the house. |
| Second | Down the road covered in bodies, before the wooden walls, the square hive on the right. |
| Third | In town, enter the first house immediately on the right and leave through the back. Inspect the square hive on the left of the group of three. |
The final pickup assembles the Anubis Figurine and awards Bountiful Harvest and Hand in the Jar. You can keep following this local route rather than searching every hive across the map.
How do you complete The Oathbound?
Collect all seven Oathbound emblems, use the resulting Mysterious Stone Slab at the marked Fortress wall, and read the note inside.
Each associated Eternal Guard gives an emblem and a Mysterious Stone Pyramid. They're at Onslaught Arch, Demolished Path, Old Mine, Marketplace, Deep Water, Shamble Street and Courtyard; routes to several of them are on the Eternal Guard page.
At Fortress > Courtyard, defeat the monster Eternal Guardsman and inspect its body for the final items. Cross to the opposite side of the room and interact with the wall bearing the Oathbound symbol. Read the note on the table to finish. The final room contains an Empty Ferrofluid Flask and Quintessential Blade Material, and completion earns We Wear the Same Colours. The blade material goes into a weapon at the workbench.
How do you complete The Scarecrow?
Give the scarecrow Lover's Pendant and Letter with a Drawing, then interact with the two pillows in the next field's barn.
- At Fallen Village > Fields, follow the road right toward the field and speak to the body strapped to the scarecrow post.
- Continue toward the barn, then take the right path to the large tree. Collect Lover's Pendant from the body at its base.
- Pass the tall haystacks and four human enemies. Go uphill left into the house and take Letter with a Drawing from the upstairs table.
- Return both items to the scarecrow. In the next field, enter the barn on the right containing exploding bodies. Climb to its upper level and interact with the two pillows for Bountiful Harvest.
How do you complete The Lost Boy?
Find the Cellar Key in the cave beyond the second weak point, then read the note in the locked cellar near the first house.
At Vale of Wrath > Wolfsbane Field, enter the house on the left and collect Mirek's Note from the bench on your right. After destroying the second weak point, enter the cave with the shortcut. Behind the miniboss's position, follow the ramp into a separate cave. Past the chest containing Blade Upgrade Material, pick up Cellar Key beside the body.
Return to the earlier house area and open the door to the right of its original entrance. Read the table note to finish, then open the chest for Wounds that Heal.
How do you complete Till Death?
Place the Red Ribbon at The Bride's altar, rest at the lantern, and interact with the wreath again.
After defeating The Bride at Cursed Hollow > Eerie View, interact with the altar wreath to start Till Death. Later, after collecting the Claymore at Village Church, leave through the back and turn right. View the memory and collect Red Ribbon from the grave.
Return to the boss arena and place it on the wreath. Rest, then come back for the final interaction. The quest awards Tomorrow's Promise and Revenant's Return.
Should you wake the girl in Sleeping Beauty or let her sleep?
Both choices award Distilled Transmutation Material, so choose the ending you prefer.
At Cursed Hollow > Village Church, turn right before the large tree and crouch under the fence. Follow the building route down to the shrine island and collect Headman's Daughter's Prayer. In the next area, defeat the miniboss in the building's second room for Headman's Key.
Return to the main area, unlock the building, and go upstairs. Read the note on the table to the right, then interact with the spinning wheel.
Wake the girl
Waking her completes the quest and gives Distilled Transmutation Material.
Let her sleep
Leaving her asleep completes the quest with the same material reward.
Should you give Seamus Diggory blood or wine?
Either bottle gives the same Ferrofluid Flask Power Upgrade and Blood and Wine achievement.
At Cursed Hollow > Silent Cannons, cross the river platforms. Near the cannon enemy, take the wallrun route on the right and speak through the house window to receive Empty Bottle. Interact with the pig in the miniboss area to obtain Blood-Filled Bottle. In the shack with animals hanging from the ceiling, collect Bottle of Wine from a barrel.
Return to the window to finish The Curious Case of Seamus Diggory.
Give the pig blood
Hand over Blood-Filled Bottle for the flask upgrade and achievement.
Give the wine
Hand over Bottle of Wine for the same upgrade and achievement.
How do you find the verses for The Shrike's Anthem?
Read the shrine note and visit the four burrows around The Outskirts > Island of Whispers to finish The Shrike's Anthem.
- Pick up the note beside the wooden shrine beyond the lantern.
- Go left of the shrine, between the buildings, and keep left. Break the boxes to enter a building, climb the ledge, and interact with its burrow.
- Cross the bridge, turn left into the barn, and crouch through the hole on the left to another burrow.
- Go upstairs and out the far side. Face the water, jump onto the house with a white marking, and enter the next building's attic for another burrow.
- Reach the barn with the shortcut door and central climb. Walk across the beams to the right of the progression path for the final burrow.
Completion gives a Tiny Whisker Gift, an XP consumable.
Should you help the children poison the Laudanum?
Helping produces Poisoned Laudanum; declining leaves you with ordinary Laudanum, and both routes award Potent Concoction.
Start at The Outskirts > Island of Whispers. After the children speak to you again, follow the street toward the weak point that opens the lantern shortcut. Interact with the brown door on the right before reaching it. Go left around that building to the other wooden door for the children's request.
Agree to help the children
You receive Poison-Filled Bottle, and your choice locks immediately. At Market Square, follow the poison route to the house, climb upstairs, and drop through the hole directly ahead into the bedroom. Picking up the medicine gives Poisoned Laudanum.
Decline the children's request
Your choice also locks immediately. Follow the same Market Square house route and collect ordinary Laudanum from the bedroom.
Deliver your bottle at the original door. Rest at the lantern and return, then visit the upstairs or downstairs area according to your chosen route to finish.
Where are the drawings for Monster Hunt?
Collect all seventeen enemy drawings across Tribunal Square, Shamble Street, and Sewers to complete Monster Hunt.
| Lantern area | Drawing | Where to look |
|---|---|---|
| Tribunal Square | Lancer | Tree beside the lantern. |
| Tribunal Square | Risen Soldier | Wall around the corner from the riverside burrow. |
| Tribunal Square | Howler | Small dead end: left, then right after the burning-wood tunnel. |
| Tribunal Square | Volunteer | Wall left of the ramp upstairs in the building with boxes. |
| Tribunal Square | Eternal Guard | Exit that building, turn left toward the fire, then left again; right wall in the alcove. |
| Tribunal Square | General Lothaire | Boxes on the cart left of the chest after the tentacle enemy and burning tunnel. |
| Shamble Street | Sapeur | Drop on the right in the room with two ranged enemies and Neptho-walls; pass the poison to the next large room. |
| Shamble Street | Slaughtermill | Cabinet in the room right of the courtyard grapple landing. |
| Shamble Street | Swarm Mother | Turn right as you exit onto the top-floor balcony near the man on the woodpile. |
| Shamble Street | Shambling Civilians | Pillar by the stairs left of the ramp to the burning tunnel. |
| Shamble Street | Remnant of the Iron Regiment | Pillar around the front-right corner of the building beyond the open tower area. |
| Shamble Street | Sphinx | Pillar right beyond the sewer building after riding the tower zipline. |
| Sewers | Grenadier | Right wall across the gap in the area with a ceiling blob. |
| Sewers | Carrion | Right wall in the lower poisoned sewer, down the ladder near the lantern shortcut. |
| Sewers | Unknown Monstrosity | Left wall by the locked gate: use Sewer Key in the circular room, grapple across, then turn right. |
| Sewers | Abomination | Left wall of the round sewer tunnel near the left-right path split. |
| Sewers | Unknown Figure | Right wall around the water's edge after you emerge outside near two enemies. |
For the Sapeur drawing, jump and dodge forward promptly after the drop to leave the poison. For Carrion, carefully jump across the lower sewer. The last drawing completes the quest for Quintessential Transmutation Material and The Book of Beasts.
Should you read the book aloud in Bedtime Stories?
Read the story aloud for two Tiny Whisker Gifts; handing over the book without reading gives one.
At City of Orphans > Tribunal Square, climb the stairs directly ahead after the burning-wood tunnel. Speak at the burrow and agree to help. In the larger upstairs room, use the trapdoor to enter the basement and take Bedtime Stories from a shelf. Return by the shortcut behind the man and give the children their book.
Read a story aloud, recommended
You receive two XP consumables, making this the better reward choice.
Finish without reading
You receive one Tiny Whisker Gift.
How do you complete Misericorde?
Shoot the nearby building's attic weak point, then return to the man strapped to the woodpile.
At City of Orphans > Shamble Street, speak to him on the left near the stairs to the shortcut gate. Enter the nearby building and climb to its top floor. Follow its exterior until you can shoot the attic weak spot. Return downstairs and interact with the man for Remnant's Return.
How do you calm and feed Mummy and Daddy?
Play the music box, put Cheese on the cell's plate, leave, close the door, and speak to the Mice to complete Mummy and Daddy.
Do not shoot the undead in the cell. Doing so immediately fails the quest.
- At City of Orphans > Sewers, speak at the burrow behind the ladder opposite the lantern. The Mice give you Cheese.
- Follow the main sewer path, clearing the Carrions, Spewer, and Volunteer along the way. Backstab the patrolling enemy and shoot distant enemies to make the approach easier.
- Descend the ladder near the Volunteer, defeat the two Risen Grenadiers, and collect Sewers Key from the chest.
- Burn the golden vines beside the chest to reveal the hidden route. Speak to the Mice near the cell.
- Follow the path through the left door, destroy the crates, and crawl through the gap. Interact with the music box to calm the undead.
- Return to the cell, open it, and place Cheese on the plate. Step outside and close the door behind you. Speak to the Mice again for their thanks and quest completion.
How do you complete The Choir before leaving the jail?
Collect the chapel's prisoner list and place it on the board beside the lantern after escaping back into the city.
The Choir is missable: finish its jail steps during Chapter 10: Shackled. The other side quests can be started and completed after the story.
- During the jail escape, enter the room on the left with a horn. Read Prison Warden's Journal, Part One on the desk.
- Upstairs, in the area with patrolling soldiers and walkable rafters, interact with the door at the end of the long hallway.
- Near Armoury Key, read Prison Warden's Journal, Part Two in the small room.
- On the opposite side of the upper floor, visit the side room with a memory and collect Key to the Chapel from the table.
- Unlock the chapel. Take Letter to Headquarters, A List of Deceased Prisoners from the counter behind the bodies.
- Once outside the sewer and back in the city, put the letter on the board directly beside the lantern for Remnant's Return.
If the jail route is giving you trouble, get your weapons back before tackling these rooms. Dying here returns you to the cell.
How do you complete The King of Smugglers?
Take Cargo Manifest, defeat the enemy in the Harbour ship's hold for Harbour Residence Key, and read Crusty Benek's Journal in the residence.
- From Vale of Wrath > Ship Graveyard, turn around and grapple toward the village. Turn right into the poison field and pass the boat fight with soldiers and flying enemies. After walljumping onto the cargo, pick up Cargo Manifest.
- At The Outskirts > Harbour, cross the poison area to the side dock. Enter the ship's hold and defeat the miniboss at its end for Harbour Residence Key.
- Return toward the poison area and unlock the residence. On the top floor, read Crusty Benek's Journal on the table and loot the chest to the left for Butcher's Carnage.
How do you enter the locked house for Glass Soldier?
Jump up into the house to reach Glass Soldier when its door is locked from the other side.
Glass Soldier increases melee damage at the cost of taking more damage. It's only worth it if you rarely get hit.
Equip what you picked up at a lantern, then pick the story back up in the walkthrough. Several of these quests also unlock achievements; the achievement list shows which.