
Valor Mortis has 10 main bosses, from General Lothaire to Entity. Each one wants something different: parry Lothaire, go for the Iron Marshall's back, and freeze then pull Slaughtermill's opening. Lothaire appears in the Valley of Ashes and returns before the Abandoned Church.
How many bosses are in Valor Mortis, and where are they?
There are 10 main bosses; General Lothaire's opening encounter and rematch belong to the same boss entry.
| Boss | Where you fight | Main response |
|---|---|---|
| General Lothaire, The Eagle Bearer | Valley of Ashes; later, before the Abandoned Church | Parry to build stagger, then land a critical attack |
| The Iron Marshall | Fallen Village | Fire and ammunition against his back weak spot |
| Sphinx, Devourer of the Unworthy | Reach the encounter through the Caverns, then fight at the Pyramids | Stasis, firearms, then the second-phase face weak spot |
| Slaughtermill | Vale of Wrath | Freeze, pull, shoot weak spots and grapple |
| Anna, The Bride Drowned in Tears | Cursed Hollow | Fire, heavy attacks during stuns and grenades for summons |
| High Justicar Aurelius, Last of the Faithful | The Outskirts | Parry his humanoid form; dodge the flask mutation |
| Lighthouse experiment | Lighthouse basement in The Outskirts | Keep moving, build Fire and shoot weak spots |
| The Orphan | University | Avoid poison vents and maintain Fire damage |
| Captain Raphael of the Nephtis Superioris | University | Shield and pressure to interrupt healing |
| Entity, Voice of the Void | Caverns | Shield and clear summons before attacking Entity |
Who is the first boss in Valor Mortis?
General Lothaire, The Eagle Bearer is your first boss, encountered in the Valley of Ashes before a later rematch near the Abandoned Church.
In the rematch, parry his sweeping mutated-arm combo, lunges and back-mounted gun attacks where possible. Building his stagger bar opens a critical attack. Trading hits with that combo goes badly; learning the parry timing pays off here.
Can you beat the first boss in Valor Mortis?
Yes, but you don't have to. Losing the opening Lothaire fight doesn't end your run, and you'll face him again later. One player who did win it says they got a consumable worth 10,000 Catalysts, so it's worth a few tries if you're feeling confident.
How do you beat the Iron Marshall?
Equip the shotgun, then use Fire Transmutation and ammunition to target the Iron Marshall's back weak spot in the Fallen Village. In the weapon wheel, the shotgun selection is labeled BLUNDERBUSS. The weapon list covers your other options.
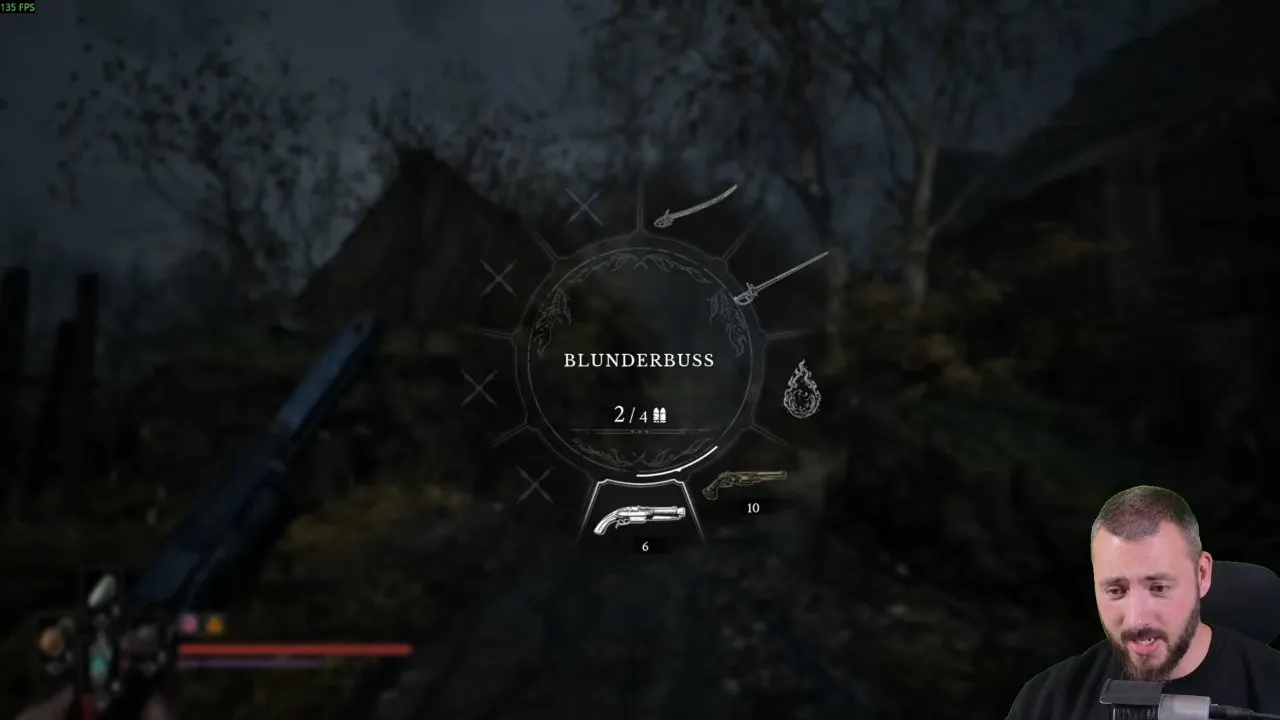
Keep your distance and target the back: recommended
The Iron Marshall is slow, which gives you room to use Fire and ranged attacks. His health bar reads THE IRON MARSHALL when the fight starts. Keep working toward the back weak spot instead of spending every opening on a frontal melee swing.
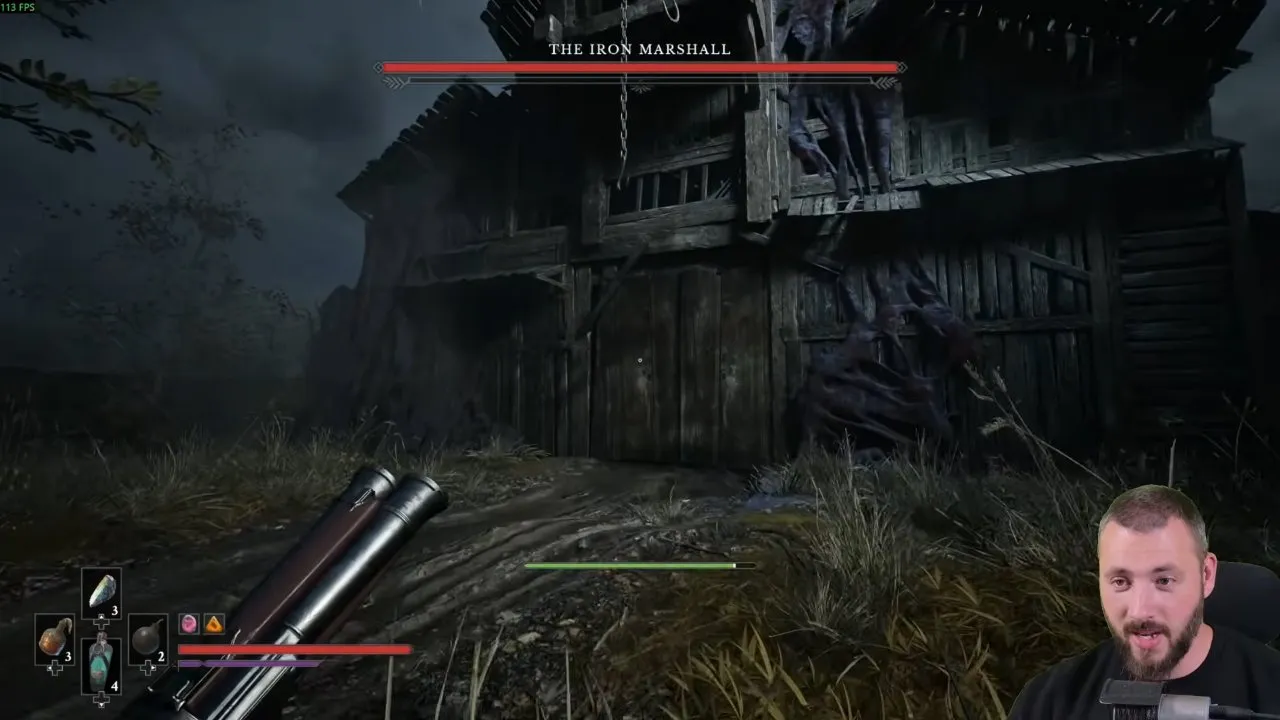
Fight him in melee
You can attack up close, but his sweeping attacks make this riskier. Some players say his hits can kill you in one go. Don't take his slow movement as permission to keep swinging.
How do you beat Sphinx in Valor Mortis?
Use Stasis Transmutation to slow or freeze Sphinx, then attack with firearms; aim at the face weak spot in the second phase.
You reach this fight through the Caverns before being transported to the Pyramids. Sphinx is fast and has two health bars, so emptying the first bar isn't the finish. Ammunition drops during the fight help you keep shooting the exposed face in phase two.
How do you beat Slaughtermill, the Old Windmill boss?
Beat Slaughtermill by freezing its open bottom section, pulling the target, attacking exposed weak spots and grappling back when thrown away. It looks like you should just unload into the whole building, but only the openings and prompts actually matter.
Wait for the bottom doors to open
Watch the lower wooden section of the mill. When the bottom doors open, switch your attention to that opening rather than firing at the surrounding boards.
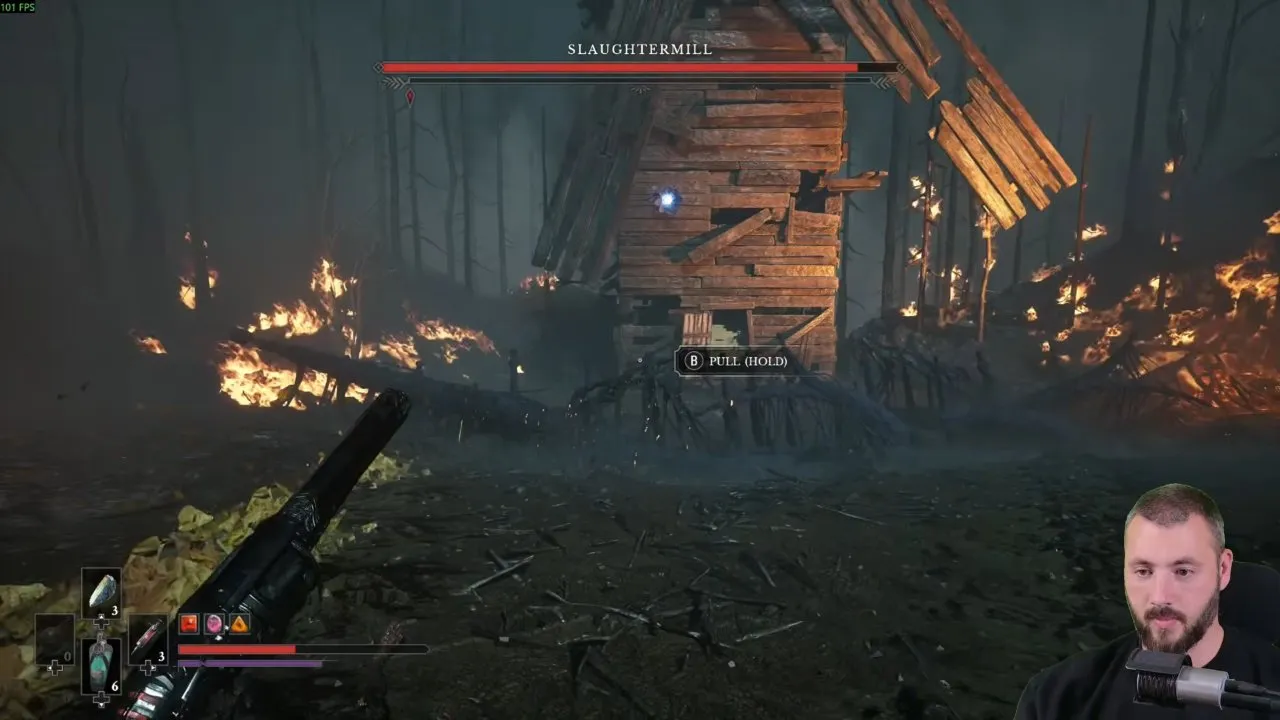
Freeze the opening
Use Stasis during the opening, then prepare to pull. Keep the lower section in view as you make the freeze-and-pull sequence.
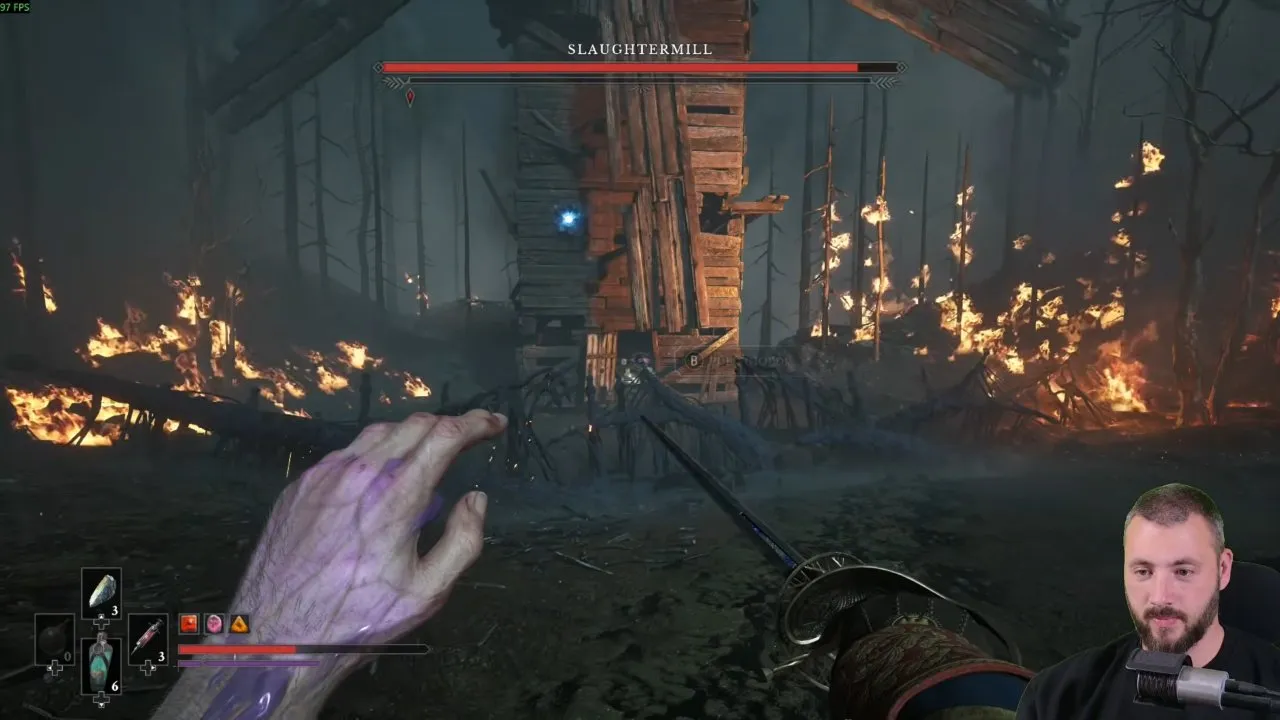
Hold Pull on the target
Pull the blue Nephtoglobin node and shoot exposed weak spots as the fight presents them. The on-screen prompt reads PULL (HOLD) (B on a controller).
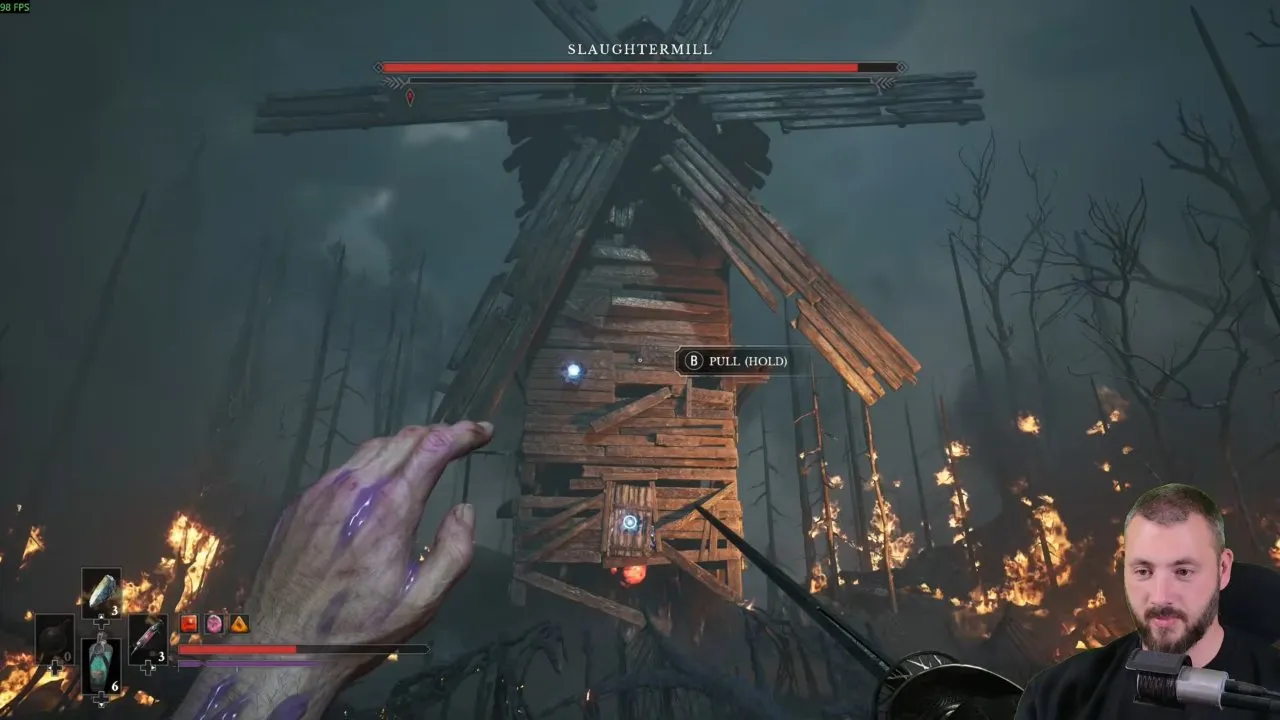
Grapple back after being thrown away
Use the grapple point to return toward the mill after it throws you back. Keep following the interaction prompts while dodging tentacles and Carrion summons.
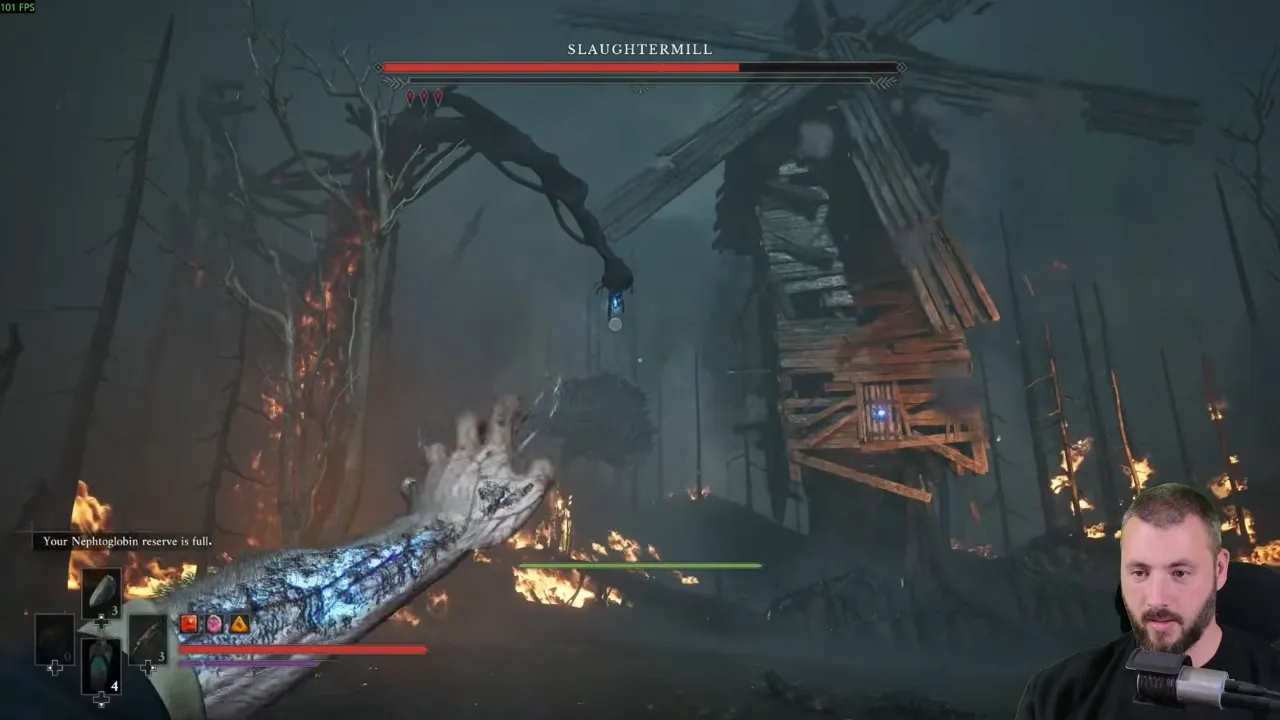
Finish the underground platforming phase
The second half takes you underground and mixes platforming with shooting. A player found that a talent giving extra midair time made airborne shots easier to line up; without it, those shots demanded tighter timing. If aiming during jumps is giving you trouble, look at Airborne Aiming in the skill tree.
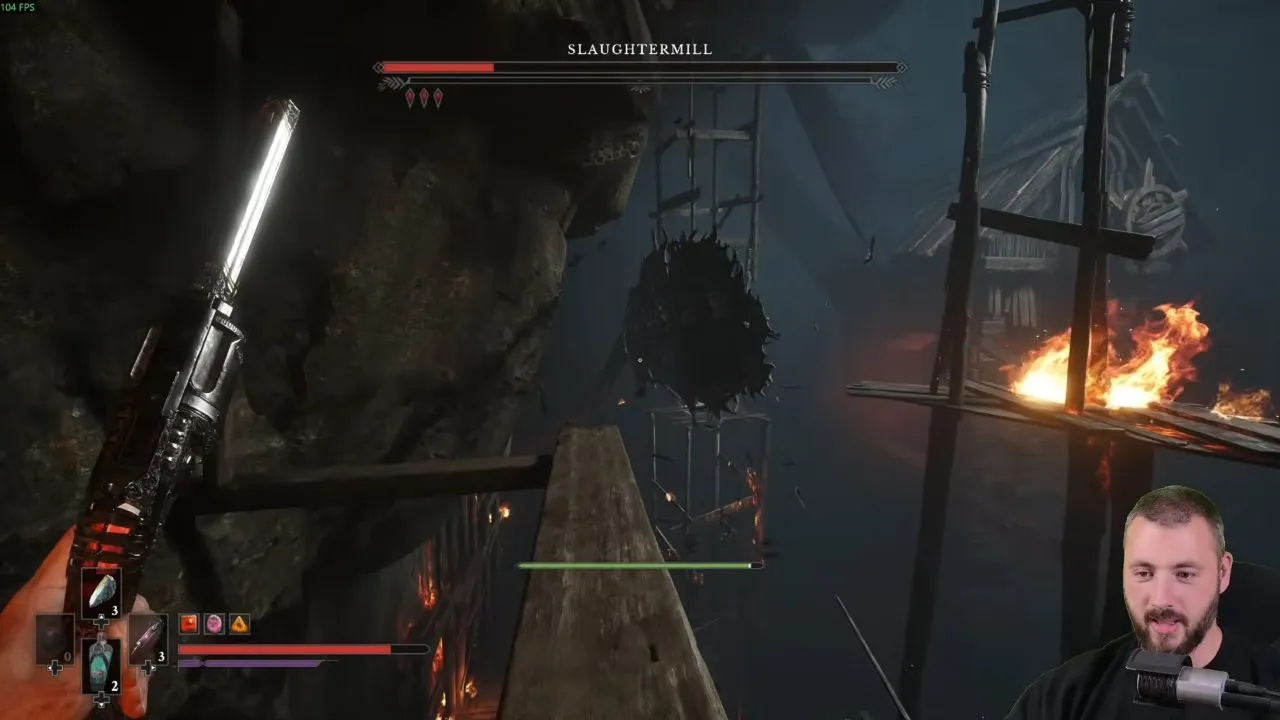
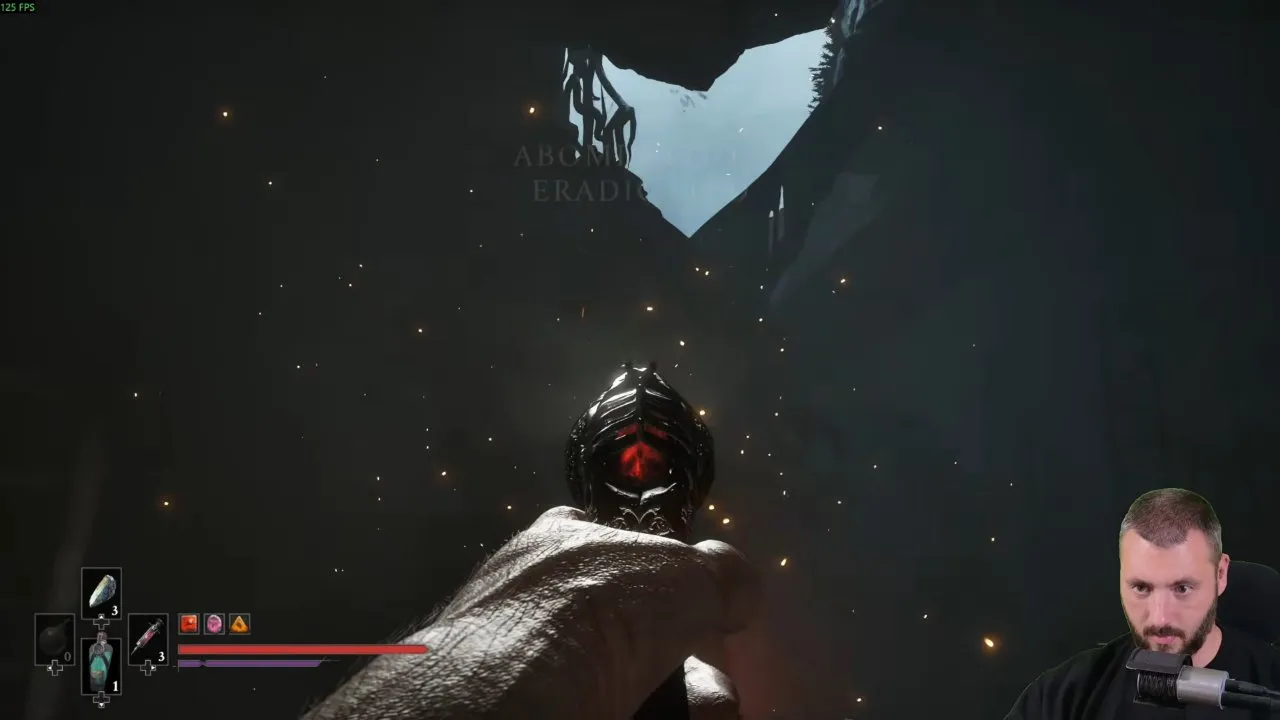
Keep completing the weak-spot and traversal sequence until the boss falls. At the finish, the boss health bar disappears and a victory message appears. Collect the ammunition afterward.
How do you beat Anna in Valor Mortis?
Build Fire on Anna, use heavy attacks while she is briefly stunned, and bring a Hand Grenade for her Shambling Civilian summons.
Anna waits in the Cursed Hollow. She is quick with her butcher knife but relatively easy to stagger. The summons are the reason to keep an explosive ready: letting them gather can overwhelm you while you're trying to finish her. Clear them, then return your attention to Anna.
How do you beat High Justicar Aurelius in Valor Mortis?
Parry and take short melee openings against Aurelius in humanoid form, then dodge until his flask mutation wears off.
You fight him in The Outskirts. Fire adds damage over time during the duel. When he drinks from a flask, he grows a huge arm with much greater reach. Waiting out that form is the safer choice than chasing damage while his range is extended.
How do you beat the Lighthouse experiment in Valor Mortis?
Circle the Lighthouse basement, turn to build Fire when you have Nephtoglobin, and shoot the experiment's weak spots from a distance.
The many-limbed creature pursues you around the basement. Keep moving to preserve space, and use Nephtoglobin Vials to support repeated Fire Transmutation attacks.
How do you beat the Orphan in Valor Mortis?
Avoid the poison vents, use Shield Transmutation for protection, and keep Fire damage ticking while taking safe melee openings.
The University arena adds poison hazards to the Orphan's hard-hitting, sweeping combos. Watch your position as well as the boss. In phase two, Oil Grenades are useful when he is against a wall; Flaming Whetstones also help build Fire. Don't chase a melee opening straight into a vent.
How do you beat Captain Raphael in Valor Mortis?
Stay close with Shield Transmutation and interrupt Raphael whenever he tries to heal with a flask.
Raphael fights with a blade and pistol at the University. Shield lets you block attacks, deflect bullets and occasionally stagger him, keeping you close enough to punish his healing attempt. Bring Nephtoglobin Vials to support it. If you lose melee range when he reaches for a flask, a firearm or grenade can interrupt him instead. Back off and he heals, so stay on him.
Who is the final boss in Valor Mortis, and how do you beat him?
Entity, Voice of the Void is the final boss, fought in the Caverns; use Shield Transmutation and kill his summons before returning to the boss.
The fight begins against a familiar-looking humanoid enemy, then adds summons. Those summons die in a single hit, making them a practical first target. Clear the extra attackers so you can focus on Entity without leaving them active around you.
Where are the mini bosses in Valor Mortis?
Eternal Guardsmen provide recurring duels throughout the game, with movesets and behavior that change between encounters. Players also call them secret bosses. The Eternal Guard locations page shows where each one is.
Keep an eye out for enemies with glowing red eyes, too. These stronger opponents guard valuables such as treasure chests or key items.
What should you do if a Valor Mortis boss is too hard?
Match your defense to the fight: parry humanoid duelists, use the required interactions against Slaughtermill, and interrupt Raphael's healing rather than letting him reset your progress.
For enemies with a posture bar below their health, repeated light attacks can leave you taking retaliation instead of staggering them. Practice parrying to break posture. A rapier can target weak spots and deals strong posture damage through parries, but it cannot block, so choose it only if you're comfortable with that tradeoff.
If it's the route between fights that has you stuck rather than the fights themselves, the walkthrough picks up from there.